

How To Draw A Pig Cute
How To Describe A Pig: Happy Cartoon Pig Drawing (Step-by-Step)
Larn how to describe a squealer. An easy step-by-step drawing pig cartoon tutorial. Turn simple oval head and body to a cute pig by adding snout, floppy ears and curled pigtail.

Today nosotros will learn how to draw a pig. We will offset with easy oval shapes for the trunk and head. Step past stride we depict a pig from the ovals by adding the "trademark" features – oval snout, floppy ears and a curled pigtail. The cartoon parts of the pig drawing are the simplified body shape, large googly eyes and a happy grinning oral cavity.
pencil
,
eraser
,
colour pencils
drawing paper
or
sketch book
Dear drawing? Never miss a tutorial!
How to describe a pig: base sketch step past step
Step i : Sketch two ovals for pig's head and snout
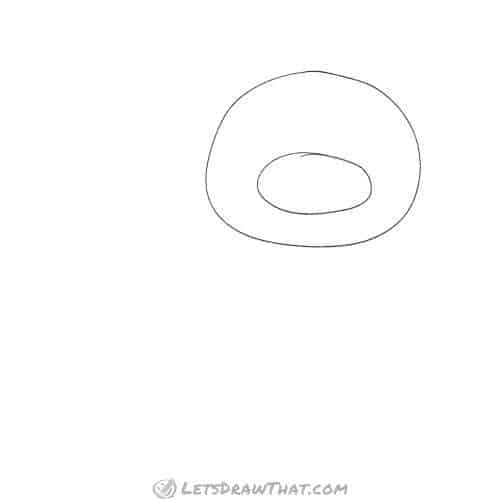
Our pig drawing starts as usual with a few simple base shapes to build the character. Draw a larger oval – this volition be our pigs head. Then add a smaller oval inside, near i third from the bottom – this will be the squealer'south trademark snout.
Pace 2 : Add an oval for the pig's body
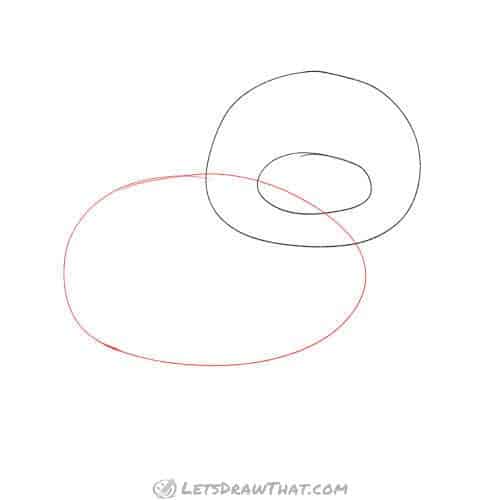
Side by side, add together some other large oval for the pig's body. As y'all tin see in the moving picture, the body crosses over the head shape in the top-right quarter. Feel free to play with the size of the body oval – you lot tin make your grunter fatter or thinner, taller or smaller, depending on how yous stretch the torso oval.
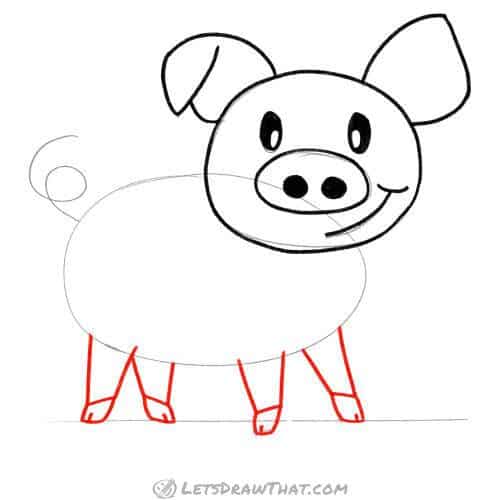
Stride 3 : Sketch the squealer'southward legs

Hither we give our pig some legs. They are made from two parts – the rectangle for the leg, and a pocket-size rhombus for the hoof. If yous want to depict really uncomplicated shapes, these can be regular rectangles. Only as you can see in the picture, the legs will look much better if you will brand the leg slightly wider at the top and describe the tops of the hooves at an angle. We have added a helping ground line to go along the legs the aforementioned length – and immediately broke the rule with the forepart leg hoof sticking down.
Step 4 : Draw the pig'due south ears

Time to add another piggy trademark – big floppy ears. Permit'due south first with the piece of cake one on the right – that is a flat bend up, and a bulked out curve back, for kind of a foliage shape. Now for the other ear – you can draw the same shape, but so add a small-scale curved triangle going down for the aptitude end of the ear.
Step v : Describe the pig's confront and tail
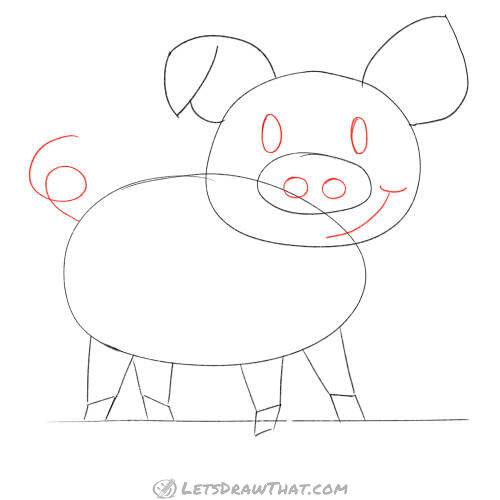
The sketching for our squealer is nearly done – allow's add a few final details: Two uncomplicated ovals for the eyes. Two circles for the snout. A overnice smiley mouth – we like information technology going to i side, and finished with a little arc to suggest the cheek. And finally some other piggy trademark feature – the curly twisted tail.

How to depict a cat using simple shapes
Larn how to draw a cat using simple shapes. Let's describe iii different cats in 3 dissimilar ways and in three unlike positions. Plus some actress fun.
How to draw a pig: outline the drawing step by step
Step 1: Draw the pig's caput
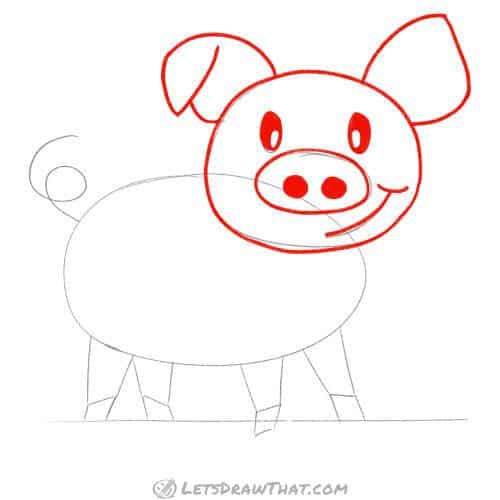
With our sketch complete, it is fourth dimension to kickoff outlining our pig. Let's start with the head – there are no changes hither, the outline is a straight copy of the pig's face, ears, and face. We have filled in the snout holes and the eyes – just another smaller oval left out white for the pupil, the rest of the middle is all black.
Step 2: Draw the pig'south legs
Next, outline the pig's legs. There are few subtle changes here: Notice the 2 legs that are extended slightly over the trunk shape – this will brand them stand out in front end of the body and give the pig drawing some depth. Another simple change is all the hooves are slightly rounded. Nosotros accept also added a curt line to separate the ii toes.
Footstep 3: Draw the squealer'southward body

Time to finish our pig drawing. Complete the torso outline – intermission the trunk outline for the two legs in front of the picture, and draw through the two further from us. Then draw out the twisted tail. Oh, and a final comeback – two small lines within the ears, to better suggest the fold in the ear.
How to draw a pig: finished cartoon
How to draw a pig: finished outline cartoon
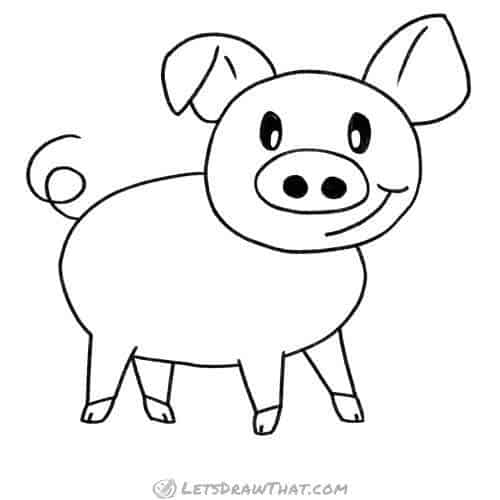
Here is our finished drawing squealer drawing, once you lot erase the sketch lines.
How to draw a pig: finished drawing coloured-in

As usual, our final – optional – pace is to colour in the completed drawing. Hither we accept gone for the traditional pink piggy – lighter pinkish for most of the body, darker pinkish shade for the snout and shades. And we are done – at present you know how to depict a pig as well! Check out the spider or cat drawing tutorials, if you desire to describe a few more than animals that can be drawn from elementary circles.
Similar this tutorial? Share information technology with others:

Love cartoon? Never miss a tutorial!
Get notified when there is a new tutorial published on Permit's Draw That! (2-4 times a month)
Check out the latest tutorials:
Like this? Share the fun with others:


Source: https://letsdrawthat.com/how-to-draw-a-pig/
Posted by: raygozaegesecun46.blogspot.com
0 Response to "How To Draw A Pig Cute"
Post a Comment